Chekkit Onboarding Guide
Welcome to Chekkit!
We're excited to have you on board. This welcome package will walk you through the essential first steps to getting set up and making the most of your Chekkit account. Please read through this guide carefully, and don’t hesitate to reach out if you have any questions.
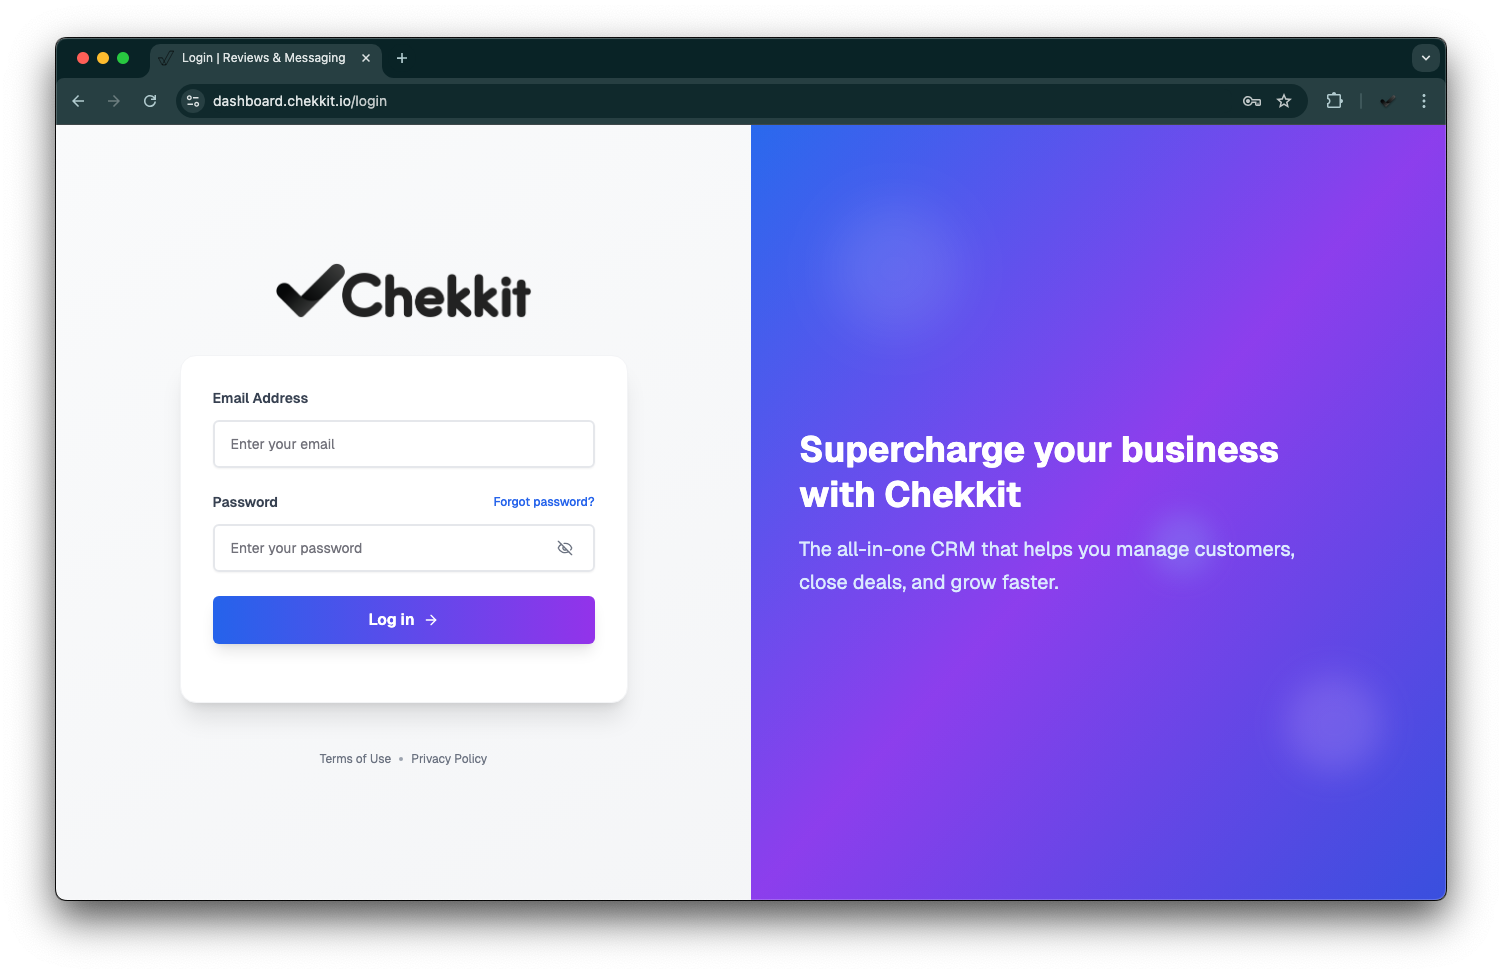
1. Logging into Your Account
You should have already received an email with your username and password to access your Chekkit dashboard.
Didn’t receive the login email?
Please check your spam/junk folder. If it’s not there, let us know right away, and we’ll resend your credentials.
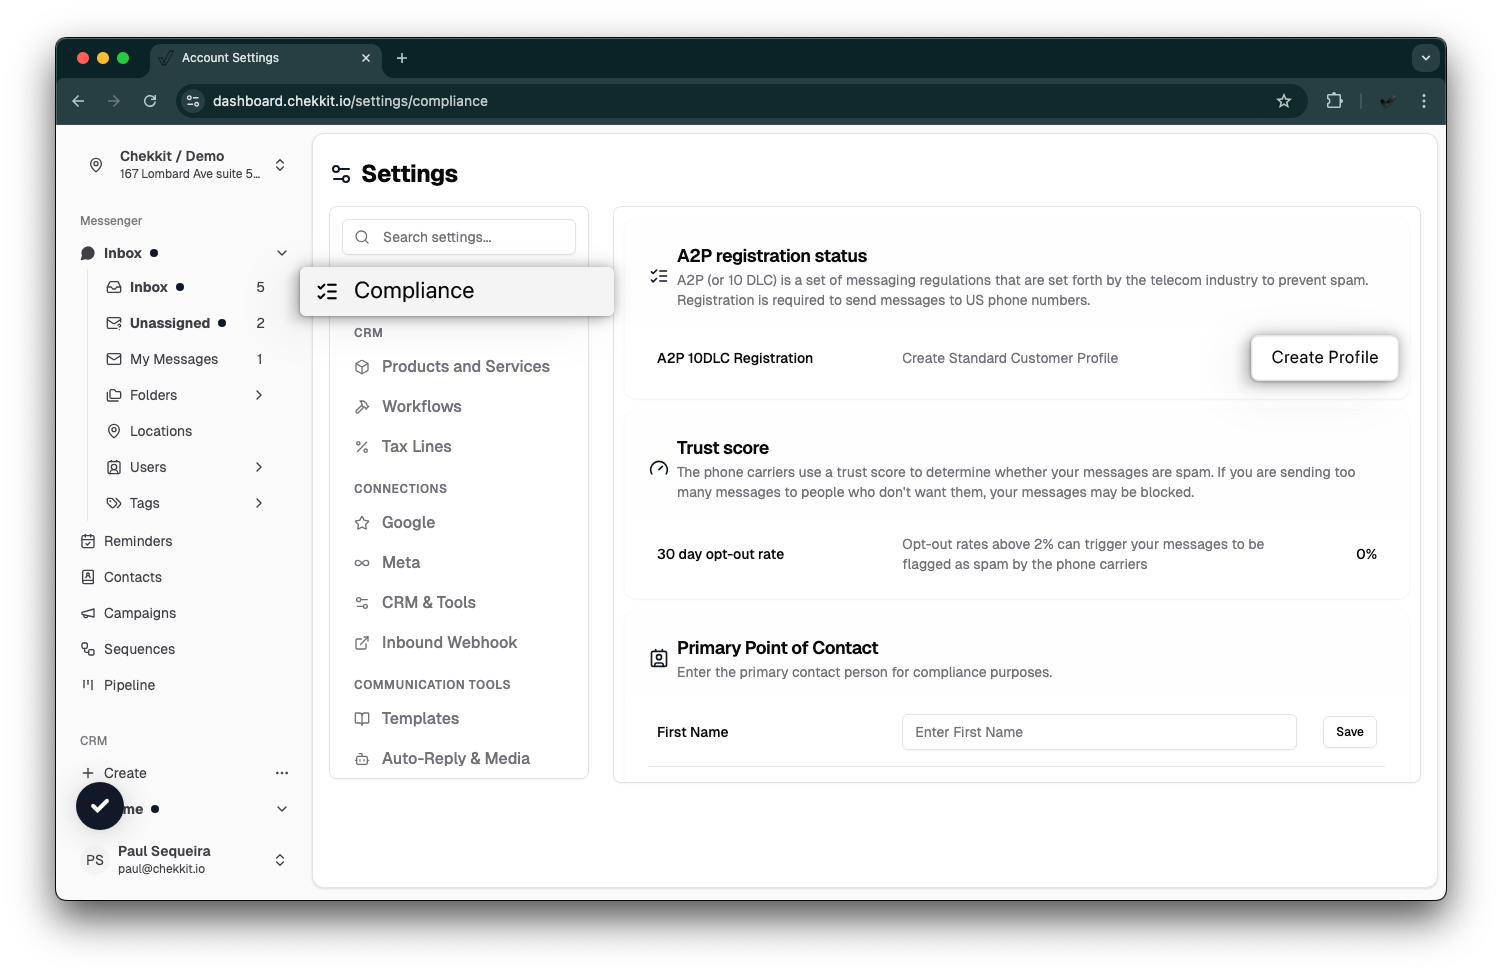
Once logged in, your next step is to complete the A2P 10DLC compliance verification.
2. Complete A2P 10DLC Verification
To comply with U.S. messaging regulations and ensure your messages are delivered reliably, you must complete A2P 10DLC registration. This is a one-time process that verifies your business identity with carriers.
Steps to Complete Verification:
- Log in to your Chekkit account.
- Navigate to: Settings > Compliance
- Click “Create Profile”.
- Complete the form with your:
- Business Name
- Business Address
- EIN or Tax ID
- Website URL
- Industry Category

- Submit the form.
Please note: It is important that you remain on this page until the submission process is fully completed, as navigating away prematurely may interrupt the process and potentially cause submission errors with our telecom provider, Twilio.
You’ll see a progress bar in your account to track your verification status. This typically takes a few days.
3. Next Steps While You Wait for Verification
While your A2P registration is being processed, we recommend working through the following setup steps to get your Chekkit account fully ready.
Import Your Customers (from another app/platform)
Bringing your customer list into Chekkit allows you to begin requesting reviews and sending messages right away. This can be useful when uploading a contact list from another device or third-party platform.
How to Import Customers:
- Prepare a CSV file with customer information (e.g., Name, Phone Number, Email, etc).
- Navigate to your Chekkit dashboard.
- Go to Contacts > Upload CSV.
- Upload your file and map the correct columns (e.g., Name, Phone, Email, Details, etc).
*Tip: Make sure phone numbers are in a consistent format (i.e, 123 456 7890)
Connect to Google My Business (GMB)
Linking Chekkit to your Google My Business profile lets you send and manage Google Reviews directly through your dashboard.
Steps:
- In Chekkit, go to Settings > Google > Google Settings
- Click “Sign In With Google”.

- Log in using the Google account that manages your business profile.
-
Select your business location(s) and complete the setup.


*Once connected, you can automatically send Google review requests and monitor all reviews from within Chekkit.
Connect to Facebook
Syncing your Facebook page allows you to send review requests and manage Messenger messages directly in Chekkit.
Steps:
- Navigate to Settings > Meta > Facebook Settings.
- Click “Login with Facebook”.
- Log in and authorize Chekkit to access your Facebook page.
- Select the correct business page.

Log in to the Mobile App
The Chekkit mobile app allows you to stay connected with your customers on the go.
How to Log In:
- Download the Chekkit app from the App Store or Google Play Store.
- Open the app and enter your Chekkit username and password.
- Enable notifications to stay updated on customer messages and reviews.
Set Up SMS Templates
Pre-written SMS templates help you quickly and consistently message customers. You can customize them or create your own.
To access templates:
- Go to Settings > Templates within your dashboard.
- Use or customize existing templates.
- Save and insert them into conversations as needed.

For a list of common templates, click here: SMS Templates
4. Book Your Live Onboarding Session
We encourage all new users to schedule an onboarding session with our team.
Use this link to book a time that works for you:
Need Help?
We’re here for you! For any issues or questions:
- Use the Textchat feature in the Chekkit dashboard
- Email us directly at support@chekkit.io
- Visit our Help Center: https://help.chekkit.io
Welcome again to Chekkit — we’re thrilled to help you grow your business!