Managing Contacts
Your contact list keeps all customer details in one convenient place. From here, you can search, add, import, or export contacts directly within your dashboard.
Managing and Adding Contacts in Chekkit
- Firstly we'll need to navigate to the Contacts dashboard. In the sidebar menu, select Contacts under Conversations.

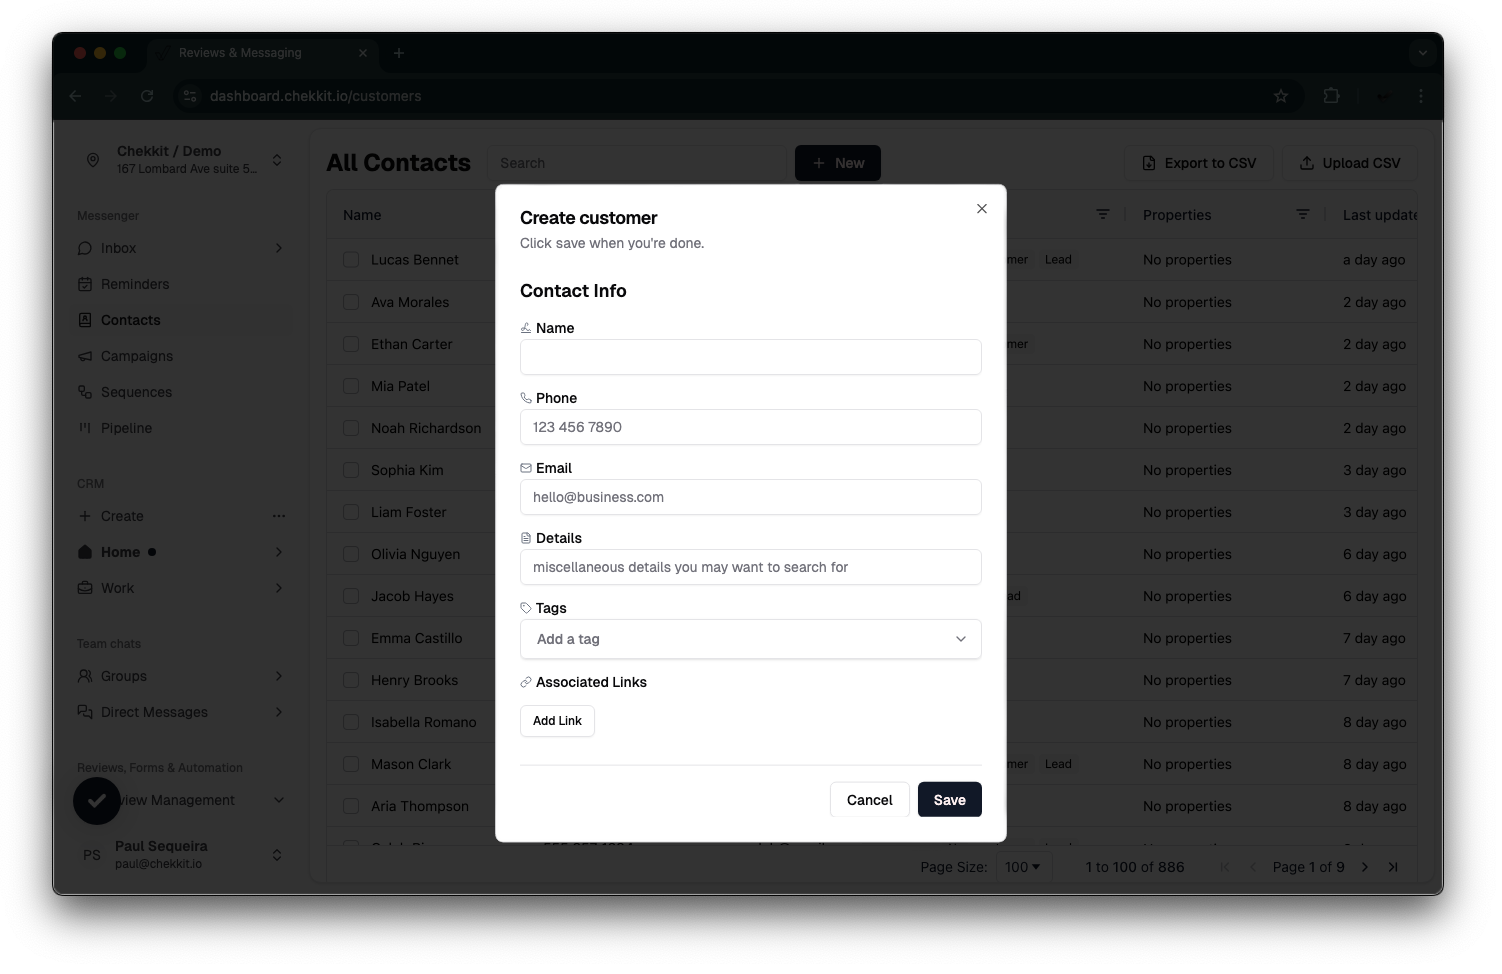
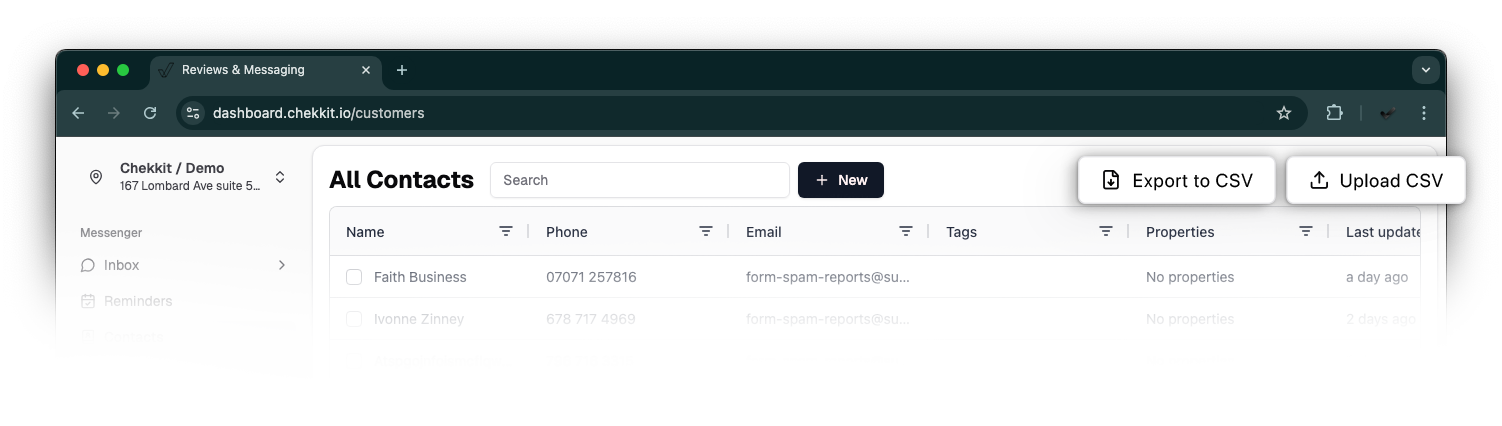
- Now that we're in the Contacts dashboard, we can see all of our current contacts. We can find specific contacts and add new contacts at the top of the dashboard.

- When adding a new customer, fill in their Name, Phone, and/or Email, include any identifying Details to make searching easier, assign a Tag for organization, and add a link if needed.
- To add multiple customers at once, click the Upload CSV button located at the top right of your dashboard.
-
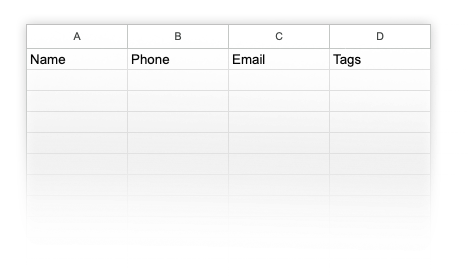
When uploading your CSV file, make sure the first row includes the following column titles.

How to Delete a Contact
If you need to remove a contact from your Chekkit account, you can do so directly from the Contacts page.
Steps:
- Navigate to Contacts from the left-hand menu.
- Locate the contact you want to delete.
- On the far right of the contact row, click the three-dot menu (⋯).
- Select Delete.
- Confirm the deletion when prompted.
- Once deleted, the contact will be permanently removed from your list.
* * *
Hopefully, this helps you get everything running, but if you have any difficulties or other questions, don't hesitate to get in touch with us at support@chekkit.io!