How to Use the Calendar Feature in Chekkit
The Calendar feature in Chekkit allows you to manage appointments, bookings, and schedules directly inside your dashboard. This guide will walk you through how to access, create, and manage events step by step. Screenshots are included to highlight the most important actions.
Step 1: Access the Calendar
From your Chekkit dashboard, open the left-hand menu and select Calendar. This is your hub for all scheduled events.

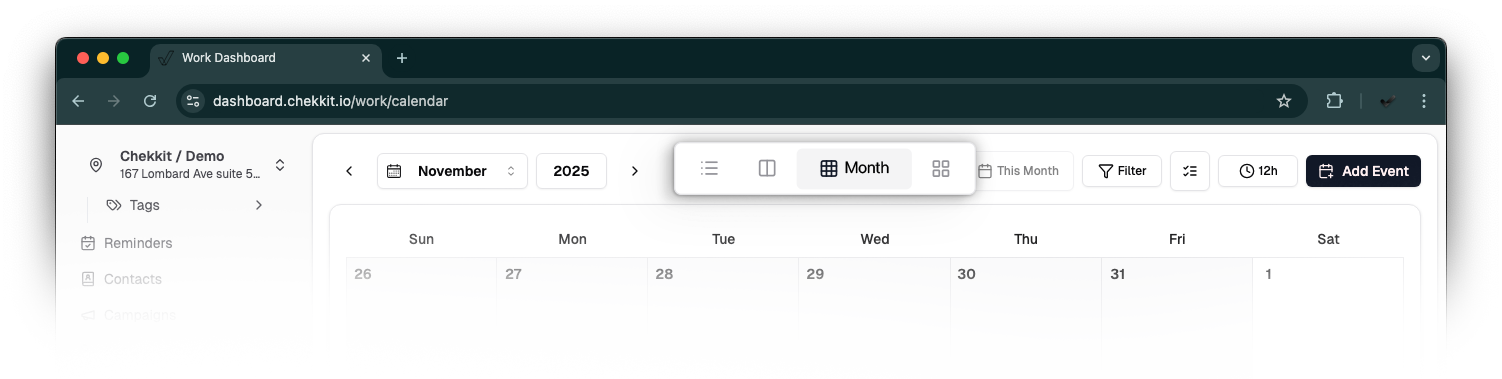
Step 2: Navigate the Calendar View
The calendar opens in monthly view by default. You can switch between day, week, and month views using the toggle at the top-right.
Step 3: Add a New Event
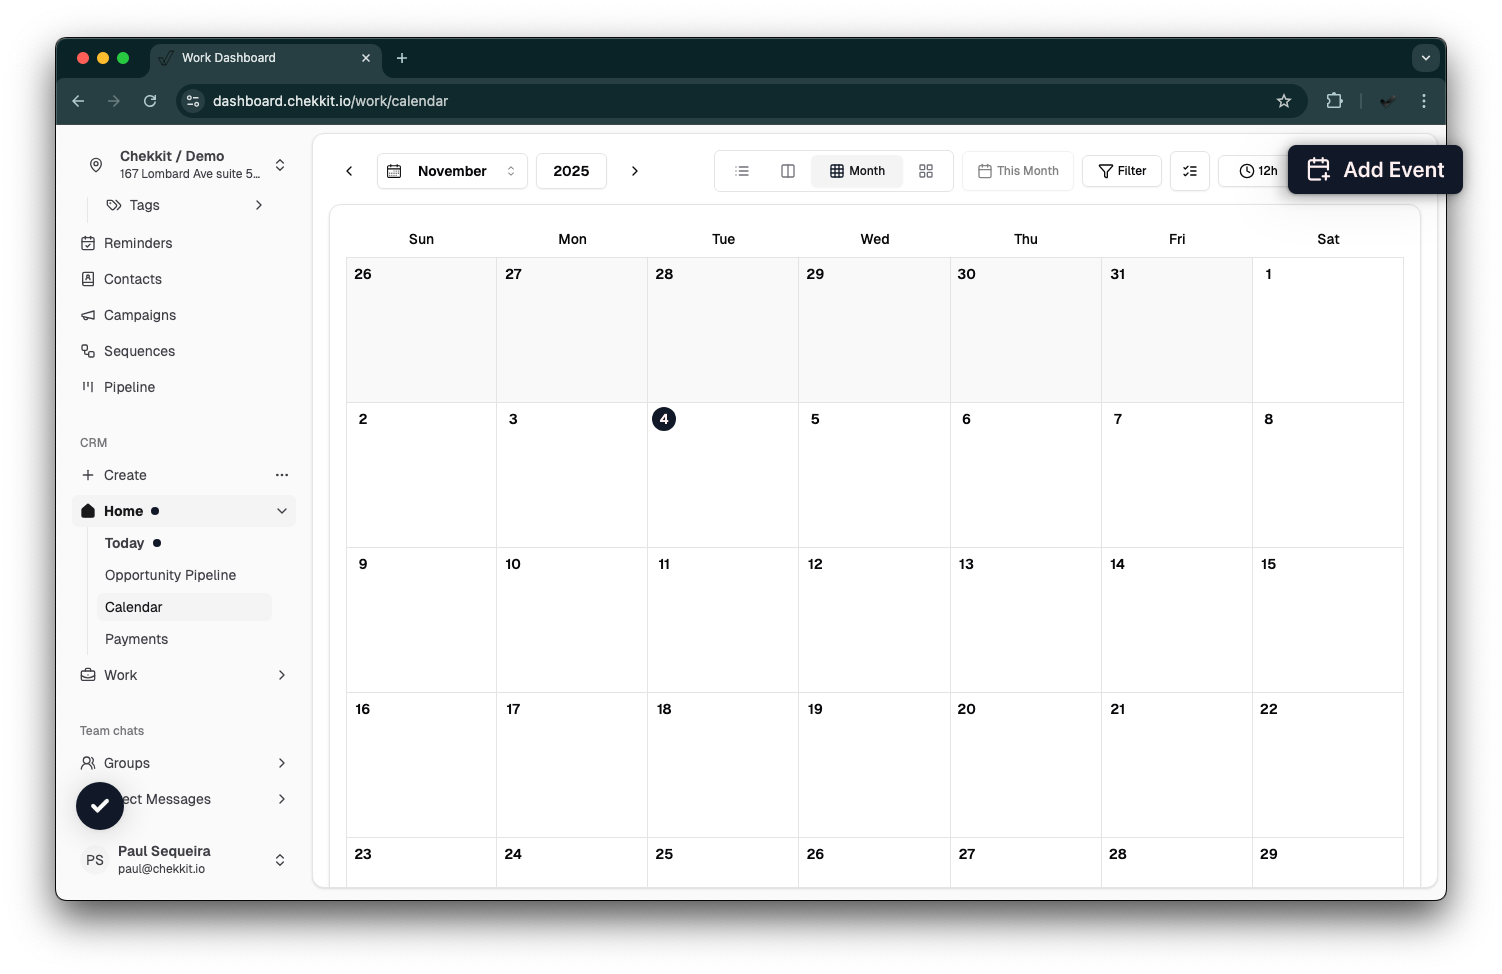
To schedule a new event, click on the desired date and time slot. A pop-up will appear where you can enter event details.
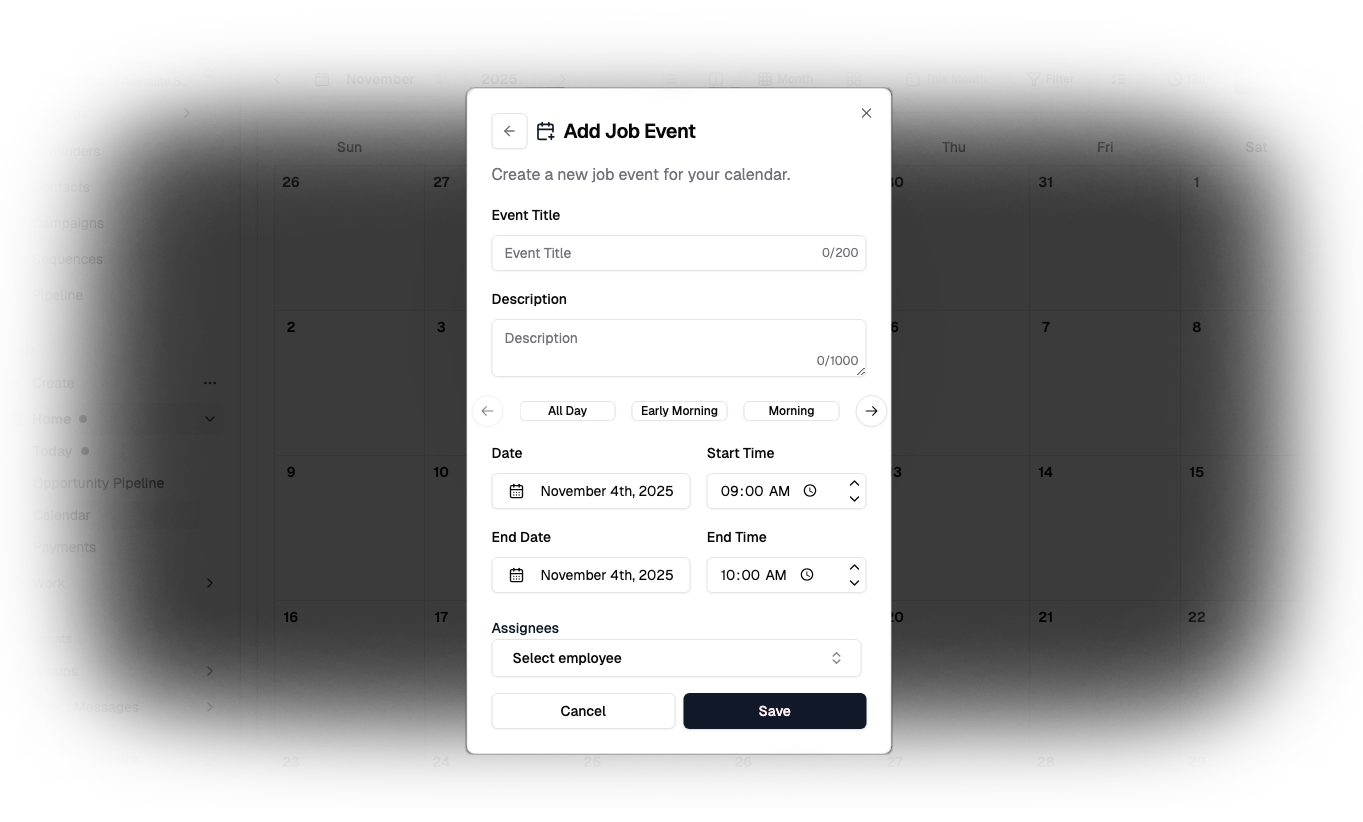
Step 4: Fill in Event Details
In the event creation window, add the relevant information:
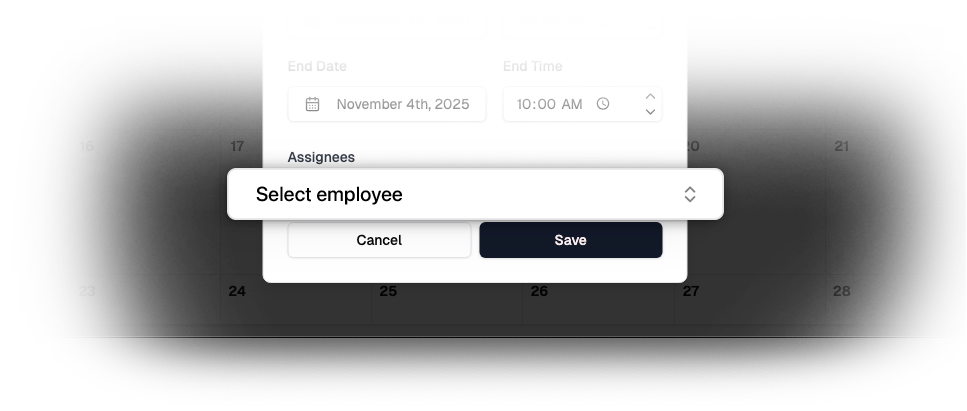
Step 5: Assign to Team Members
Use the Assignee field to allocate the event to a specific team member.
Step 6: Save and Confirm
Click Save to finalize the event. It will now appear directly on your calendar in the correct time slot.
Step 7: Review and Manage Events
Once saved, you can view, edit, or delete the event. Changes are updated instantly across all team dashboards.
Pro Tips
- Use filters at the top of the calendar to view events by team member.
- Sync with your external calendar (Google, Outlook, etc.) for seamless scheduling.
- Use notes to record customer-specific details before the meeting.
Conclusion
The Calendar feature streamlines your scheduling inside Chekkit, ensuring that appointments are visible, trackable, and assigned properly. Mastering this workflow helps reduce missed bookings and can improve team efficiency.