Automatic Replies in Chekkit
How to Use Automatic Replies in Chekkit
Automatic replies help your business stay responsive by sending an instant message when a customer reaches out. You can use them to confirm you’ve received a message, or to let customers know when you’re closed.
Accessing Auto-Reply Settings
- Log in to your Chekkit Dashboard.
- From the left-hand menu, go to Settings → Auto-Reply & Media.
- You’ll see three main sections: Automatic Reply Settings, Missed Call Message, and Media Settings.

Setting Up Your Automatic Replies
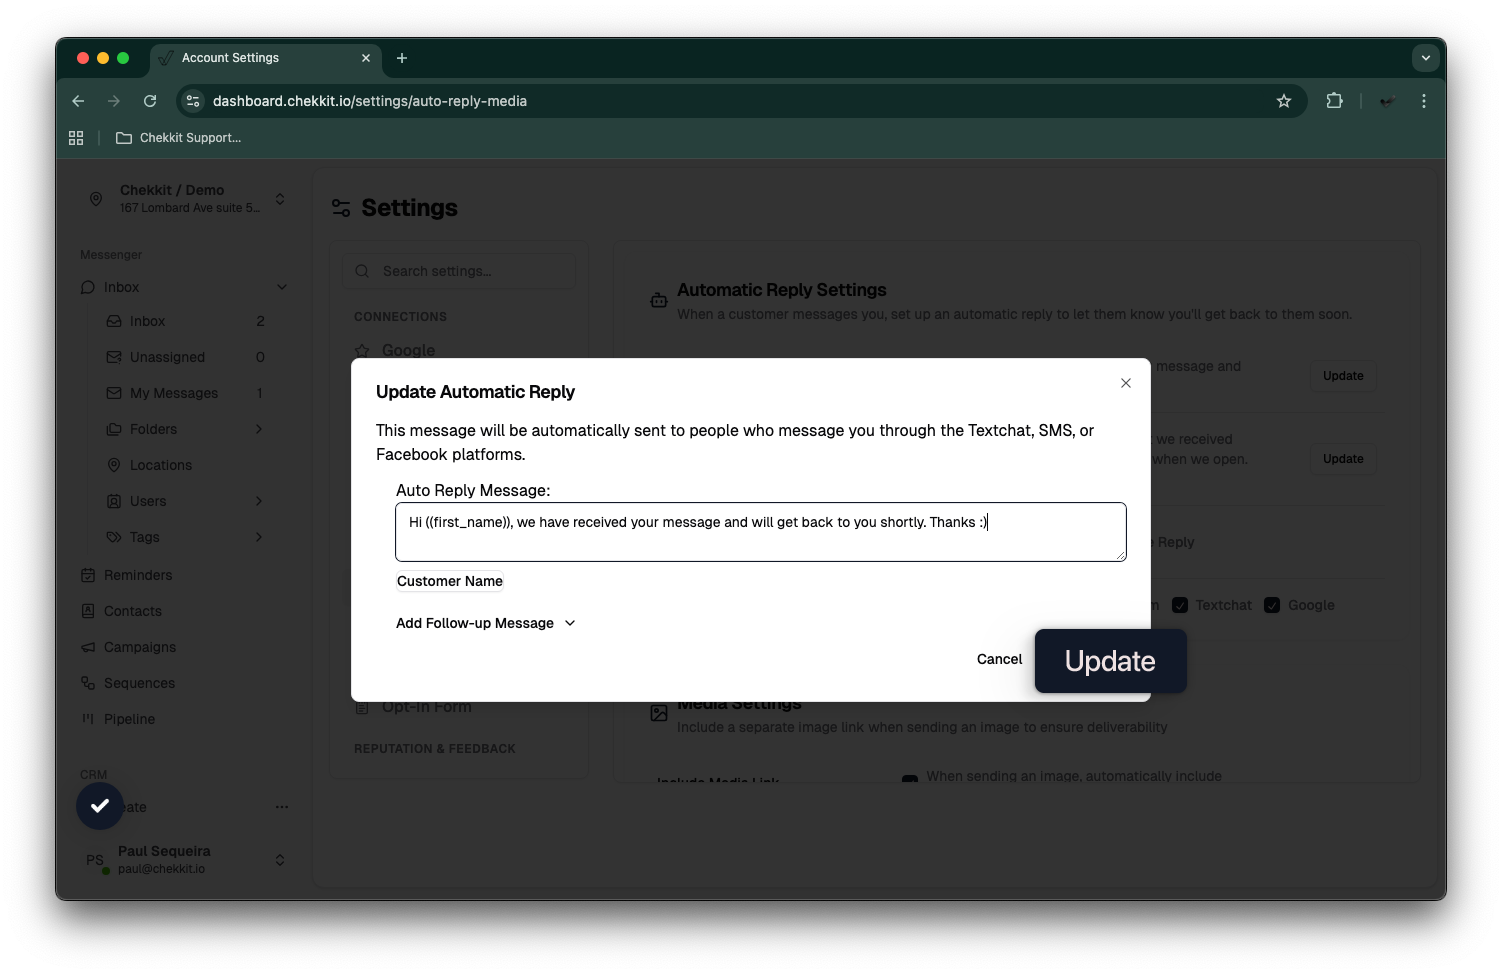
1. Automatic Reply
This message is sent immediately when a customer contacts you during normal business hours.
-
Example:
"Hi {{first_name}}, we have received your message and will get back to you shortly. Thanks!"
To edit this message:
- Click Update next to Automatic Reply.
- Enter your custom message.
- Click Update.
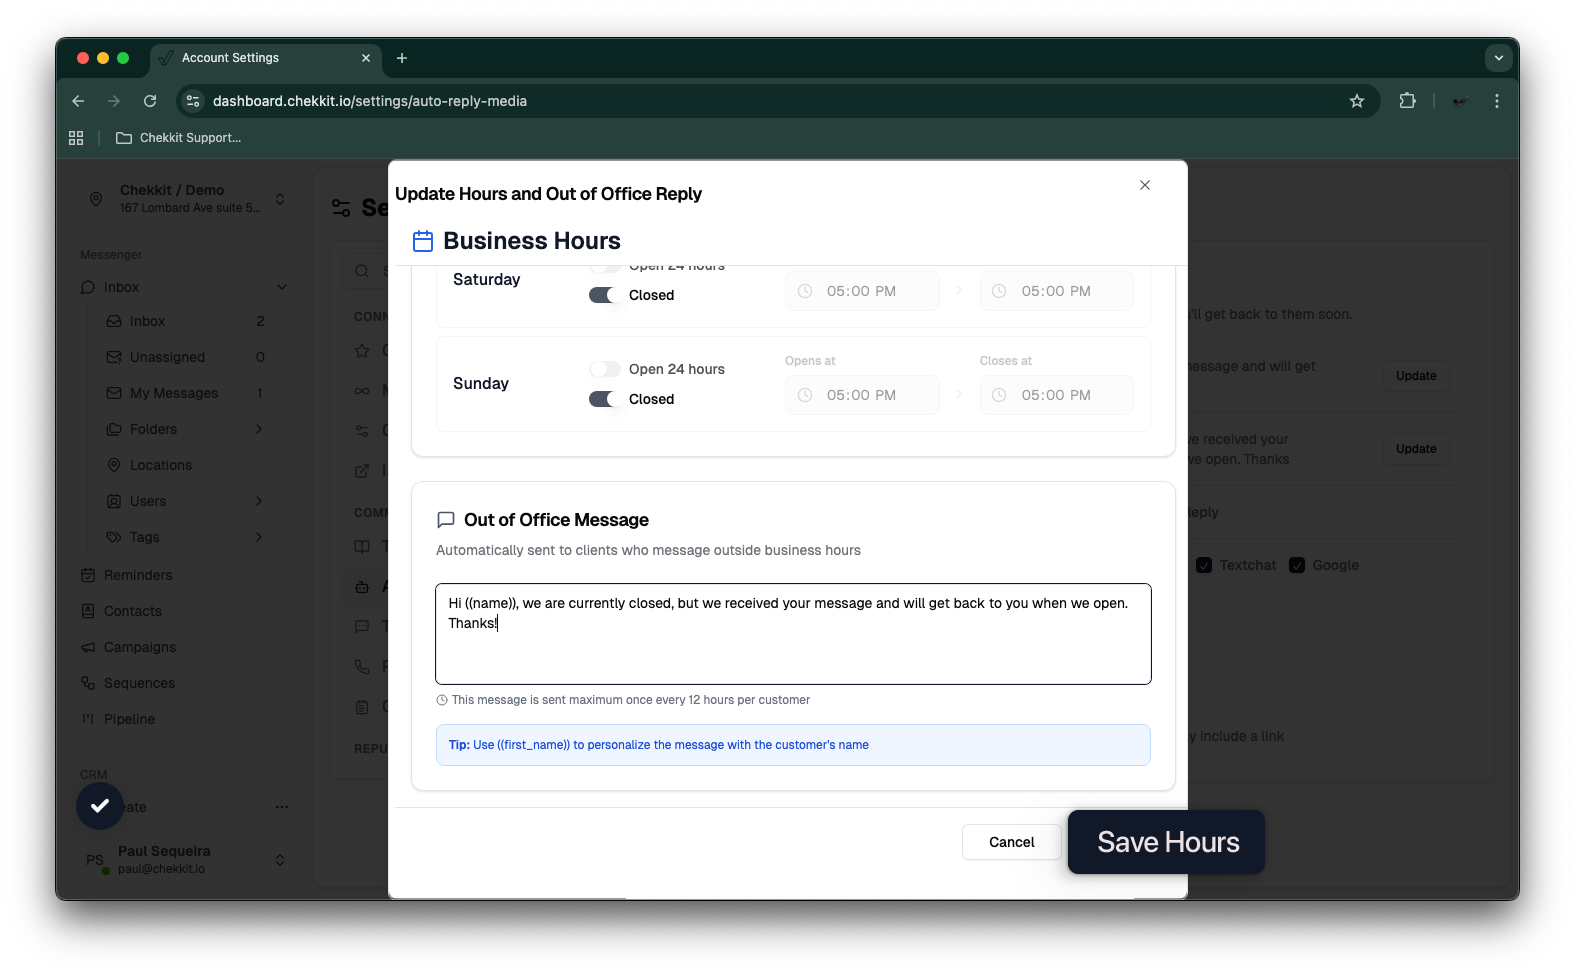
2. Out of Office Automatic Reply
This message is used when your business is closed or unavailable.
-
Example:
"Hi {{first_name}}, we are currently closed, but we received your message and will get back to you when we open. Thank you!"
To edit this message:
- Click Update next to Out of Office Automatic Reply.
- Customize your message and preferences.
- Click Save Hours.
3. Activating Replies
Below your messages, you can toggle which reply types are active:
- Automatic Reply
- Out of Office Reply
- Missed Call Message
Enable one or both, depending on your preference.
4. Choosing Channels
You can choose which channels your auto-replies apply to:
- SMS
- Textchat
Check or uncheck each channel as needed.
Media Settings (Optional)
If you often send images, you can choose to include a media link automatically for better deliverability.
- Toggle Include Media Link on/off with this option.
Best Practices
- Keep replies short, friendly, and informative.
- Always include the customer’s name placeholder "{{first_name}}" for a personalized touch.
- Update your out-of-office message before holidays or known closures.
- Review your messages occasionally to ensure they match your current brand tone.