.png)
Connect AIM by TriTech to Chekkit
Connect AIM by TriTech (Active-e) to Chekkit to send automatic texts for repairs, sales, rentals, lessons, and reviews — with 15 ready-made automations organized by category.
What it does
- Receives updates from AIM when things happen in your shop (sales, repairs, rentals, lessons, and more).
- Guides you through pasting your Chekkit Location ID into AIM's Active-e Chekkit setup.
- Offers quick-setup automations across five categories — Reviews, Repairs & service, Sales & orders, Rentals & contracts, and Lessons.
- Lets you optionally skip certain AIM account types (e.g. schools or wholesale) so those customers are not messaged.
- Lets you fine-tune any automation later from Automations → Message automations.
Before you start
- You need owner or location admin access in Chekkit.
- AIM setup is done in Maintenance → Active-e → Active-e Setup → Chekkit on the AIM side (your AIM rep can help if needed).
- You copy a Chekkit Location ID (and optional full event URL) from Chekkit into AIM — there is no separate sign-in step in Chekkit.
- If you have multiple AIM locations, paste the matching Chekkit Location ID into each location row in AIM.
How to connect
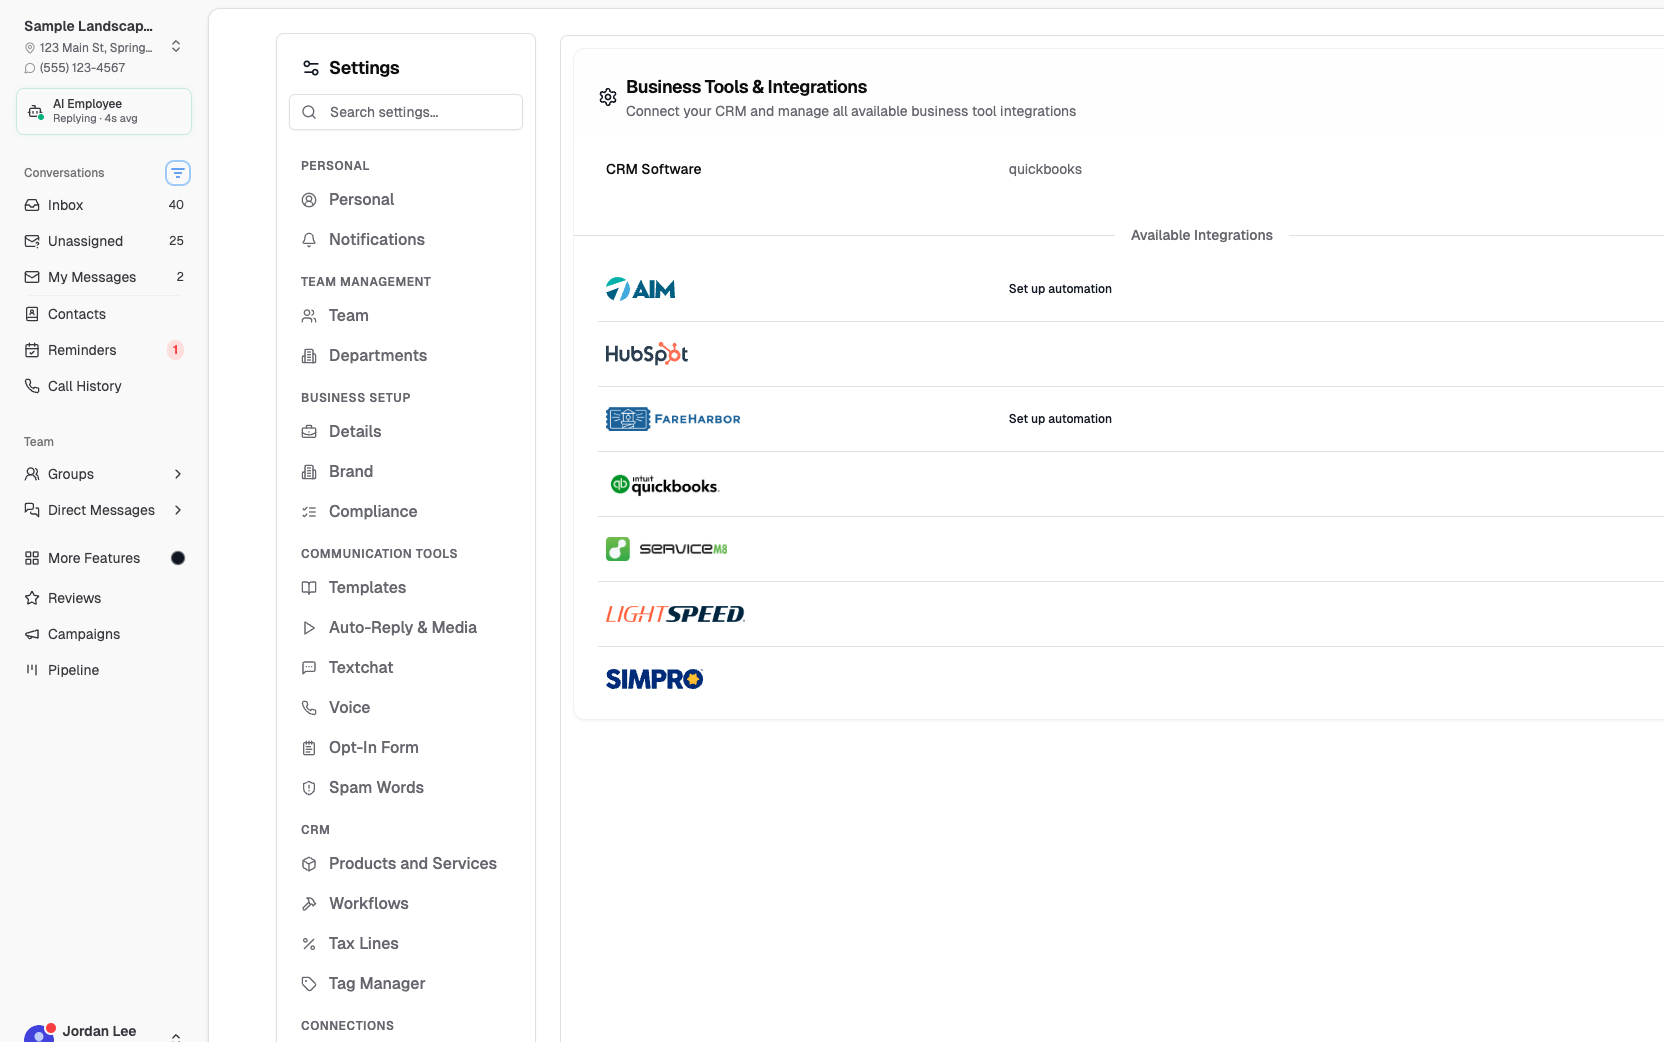
- In Chekkit, go to Settings → Connections → CRM & Tools.
- Find AIM in Business Tools & Integrations.
- Click Set up to open the two-step connection dialog.
Step 1 — Connect
- Choose an app where your AIM automations will live. Chekkit picks one for you by default; you can use an existing app or create a new one named AIM.
- Copy your Chekkit Location ID (and Full event URL if AIM asks for the full URL instead of the ID alone).
- In AIM, go to Maintenance → Active-e → Active-e Setup → Chekkit.
- Check Enable Chekkit and set your phone preferences (Cell, Home, Work).
- For each AIM location, paste your Chekkit Location ID into the matching row in the Chekkit Location ID column.
- Click Next: set up automations when you're ready to add automations (you can also do this later).

The Location ID is the part after the last slash in the full event URL.
Step 2 — Automations
The quick-setup picker shows categories first. Choose a category, pick a template, optionally set which account types to skip, then click Turn on automation.

Quick-setup automations
Reviews
- Review request (sale) — 3 days after a sales invoice (skips $0 sales); includes your Chekkit review link.
- Review request (repair) — 3 days after a repair is completed; you can adjust the repair status to match your AIM workflow.
Repairs & service
- Repair received — When a repair work order is created.
- Repair in progress — When a repair moves to the technician's bench.
- Repair estimate — When an estimate is ready, with the amount.
- Ready for pickup — When a repair is completed.
- Estimate declined — When the customer declines an estimate.
Sales & orders
- Order confirmation — When a special order is entered.
- Online order ready — When an online order or contract is processed and ready.
Rentals & contracts
- New rental welcome — When a new rental contract is created.
- Rental return — When a rental instrument is returned.
- Contract payment — Thank-you after a rental or contract payment.
- Contract payoff — When a rental contract is paid in full.
- Autopay declined — When an automatic rental payment fails.
Lessons
- Lesson follow-up — About two weeks after a student signs up for lessons, with an optional review ask.
Example repair-received message (with sample data):
Hi Alex, we've received your lawn mower for repair and will keep you posted. Reply here with any questions!
Real messages use each customer's name, instrument or item, and shop details from AIM.
Skip certain account types (optional)
Some shops do not want to text certain AIM account types — for example schools, districts, or wholesale accounts where the buyer is not the person who would reply or leave a review.
When turning on an automation, you can enable Skip certain account types:
- If Chekkit has already received AIM events, you'll see a checklist of account types detected from your shop (excluding Standard Customer).
- You can also type additional account types to skip, separated by commas.
- Chekkit skips customers whose account type in AIM matches the types you selected.
If you have not received any AIM events yet, type the account type exactly as it appears in AIM. You can refine this later on the automations page.

After connecting
- When AIM is connected, the integration row shows Connected.
- Click Set up automation (or the + button) to add more templates from any category.
- Open Message automations to edit repair status, timing, wording, or account-type skips — repair "done" status varies by shop (Completed, Billed, Invoice, Repair Billed, etc.).
- Already-added templates show as Added in the picker.
Disconnect AIM
- In Business Tools & Integrations, open AIM and choose Remove.
- Confirm removal in Chekkit. Automations are turned off but remain in your account.
- Remove the Chekkit event URL or Location ID in AIM if you no longer want events sent to Chekkit.
Troubleshooting
- No events arriving. Confirm Enable Chekkit is checked in AIM and the correct Location ID is entered for each location. Trigger a test sale or repair in AIM.
- Automations say they'll start once AIM sends updates. This is normal before the first sale or repair comes through. Complete a real transaction in AIM, or adjust the automation after you see activity.
- Repair automations never send. Your shop may use a different "completed" status than the template default. Edit the automation in Message automations.
- Wrong customers are being messaged. Turn on Skip certain account types when adding automations, or update your account-type skips on the automations page.
- Customers aren't receiving texts. Verify phone preferences (Cell, Home, Work) in AIM's Chekkit setup and that the customer has a cell number on file.
Related articles
- How can I automatically send review invitations?
- Send Events to Chekkit Using Webhooks
- Messaging Consent
Need help?
If you're having trouble connecting AIM or setting up automations, email support@chekkit.io with your business name and a short description of the issue. Your AIM rep can also help with the Active-e Chekkit configuration screen.